Here it is (finally!): The Afghan Tutorial, Part 1.
First thing's first: make sure you have all of your supplies. You'll need a 5.5mm afghan hook (it must be an afghan hook, regular ones aren't long enough for this project), and one regular 5.5mm crochet hook, 6-7 7 oz skeins of your main color, and 2-3 of your coordinating or accent color. When it comes to yarn, it's best to use one with no dye lot (it will say that on the paper around the yarn) in case you need more, you want to make sure you can get the same color.
I chose dark brown for my main color, and a light, bright blue for the accent.
There are two places you can pull your yarn from. Pull it from out of the end, not the side. This will save you a headache in the longrun. Sometimes it's a bit knotted at first, but untangles easily.
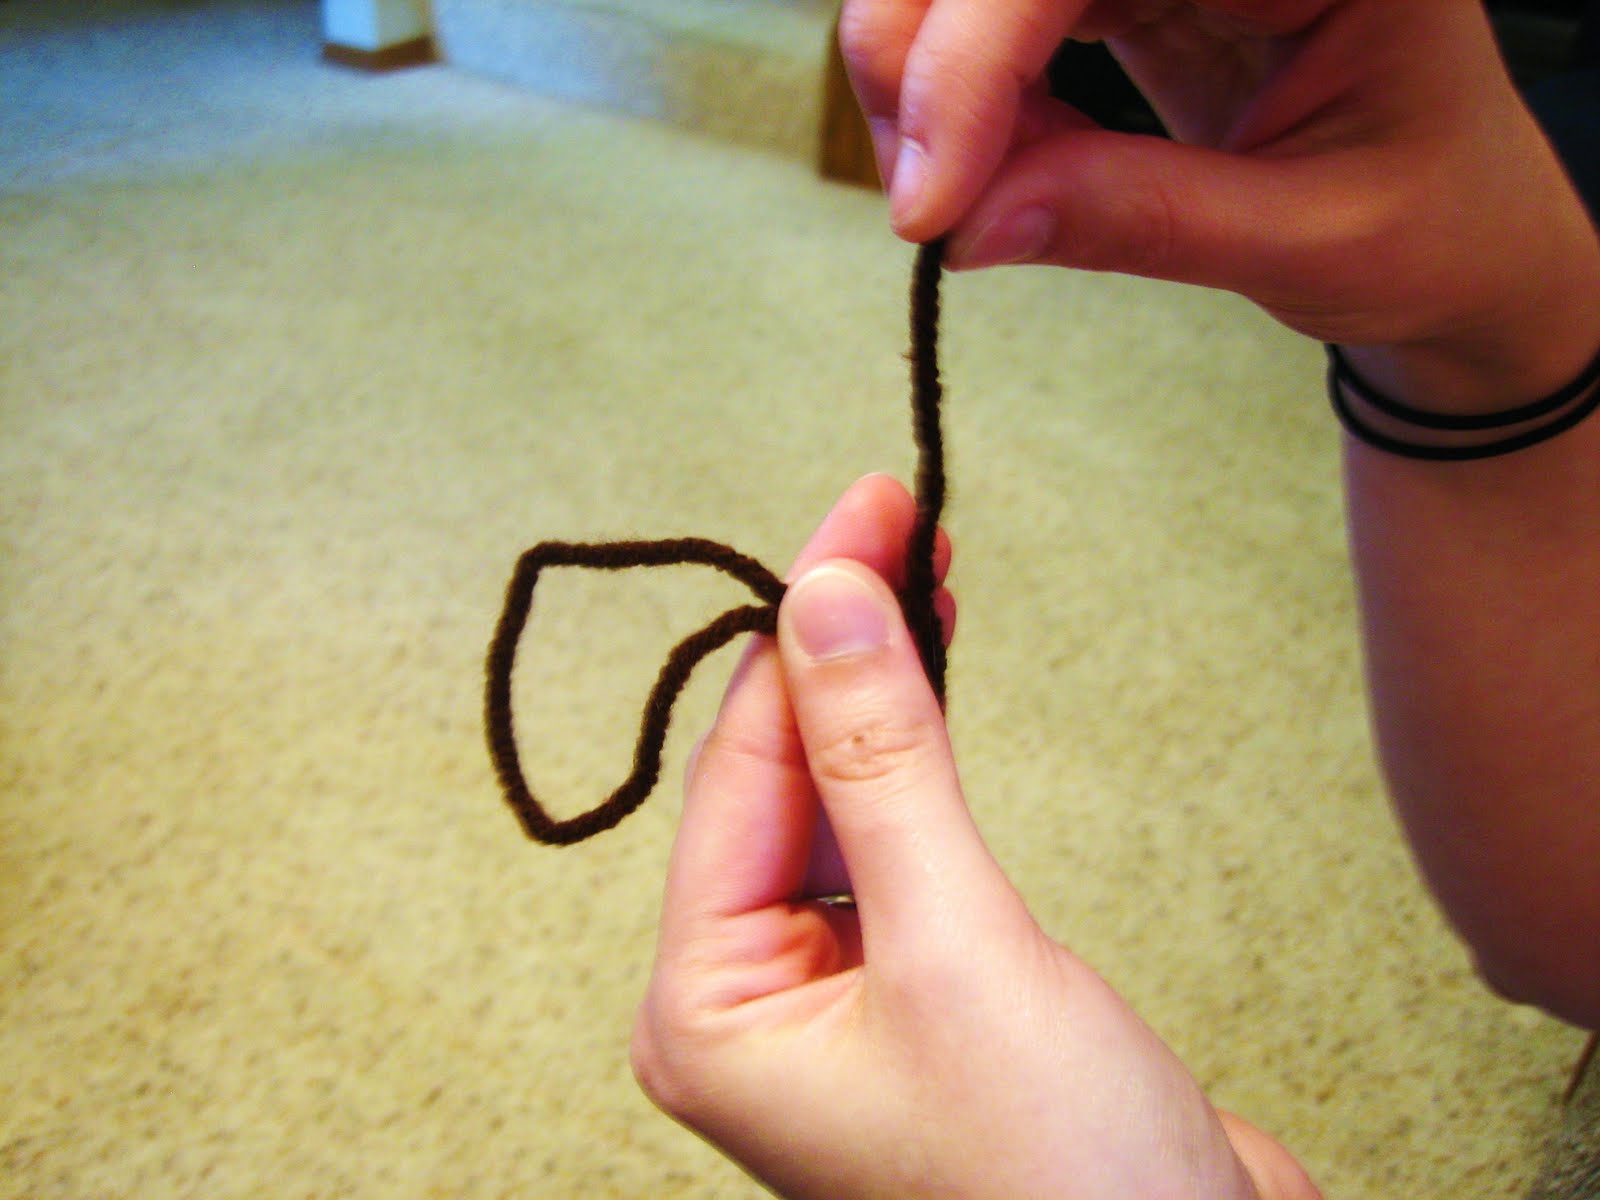
Now, the knot. Take the end of your string, and fold it over, like so:
Take a hold of the ends.
Take the open end of the yarn, and loop it around the long end.
Then take the end and put it through the loop.
Pull to tighten it.
Put the loop around your hook and pull it tight.
Hold the rest of the yarn in your hand like so. It will keep the yarn in place.
Put your crochet hook under your yarn, and make sure it will stay in the "hook" part.
Pull the "hooked" loop through the loop your made with your knot.
Now you have a new loop.
Repeat the process of catching the yarn and pulling it through the loop to make a new loop until you have made 24 loops. This is called a chain, and it looks like a braid.
Put your crochet hook through the top of the 2nd closest "braided"piece (look at the colored lines to better explanation)
Hook your yarn again, and pull it through where you just put your hook.
Now you should have 2 loops on your hook. Keep repeating this process for each braided piece, until your hook looks like this:
When you have made all of your loops, hook your yarn and pull it through the last loop you made.
Then, hook your yarn again, but this time you're going to pull it through 2 loops.
Keep hooking your yarn and pulling it through the next 2 loops until you get to the end. It should now look like this:
Now you'll make loops like you did before, only this time you'll put your hook through the straight lines created by the loops you made before. (the bluish/purplish line in the above photo shows you which "line" to put your hook through to make the first loop).
Again, you'll hook your yarn and pull it through, making loops until you reach the end again. This time, how you deal with the end is a little different; more complicated, and more difficult to explain. I hope the pictures help with this area.
See the bluish/purplish line, and the green line? You're going to put your hook through both of them.
Now you'll hook your yarn and pull it through the 2 loops you just put your hook through (the bluish/purplish and green lines)
Then you'll hook your yarn and pull it through the loop you just made.
Now you'll do like you did before, hooking the yarn and pulling it through two loops to the end.
Repeat the process of making loops and crocheting them off until you have 223 rows (one set of loops across and crocheting them off is one row).
When you have made your 223 rows, you'll finish it off by doing a single crochet across the top. A single crochet works like this: Make a loop like usual - you should have 2 loops on your hook.
Then hook your yarn and pull it through the 2 loops.
Repeat the process of making a loop, hooking your yarn, and pulling it through the two loops until you have made it all the way across. When you have finished, just make a loop through a piece of yarn at the end, then cut the loop in the middle, and pull the rest of the yarn away from your panel. Congratulations! You've just made most of a panel!
The next installment will be finishing off the edges and creating a design on your panel.
To make an entire afghan, you will make 4 panels of 24 stitches across and 223 rows long, and one panel that is 42 stitches across and 223 rows long. In the end, you'll crochet them all together (more on this later).
Happy crocheting!


is this the same stitch you did for Logan's blanket and Garrick's afgan?
ReplyDeleteGoodness that took a lot of work. Will you be suprised if I make a blanket?
ReplyDeleteIlene - Yes it's the same stitch I used for both Logan's and Garrick's blankets. It's called an "afghan stitch."
ReplyDeleteGarrick - Yes I will be very surprised. Especially since you already have one made with love.